How to Decide, Budget, and Plan a Cabinet Repaint
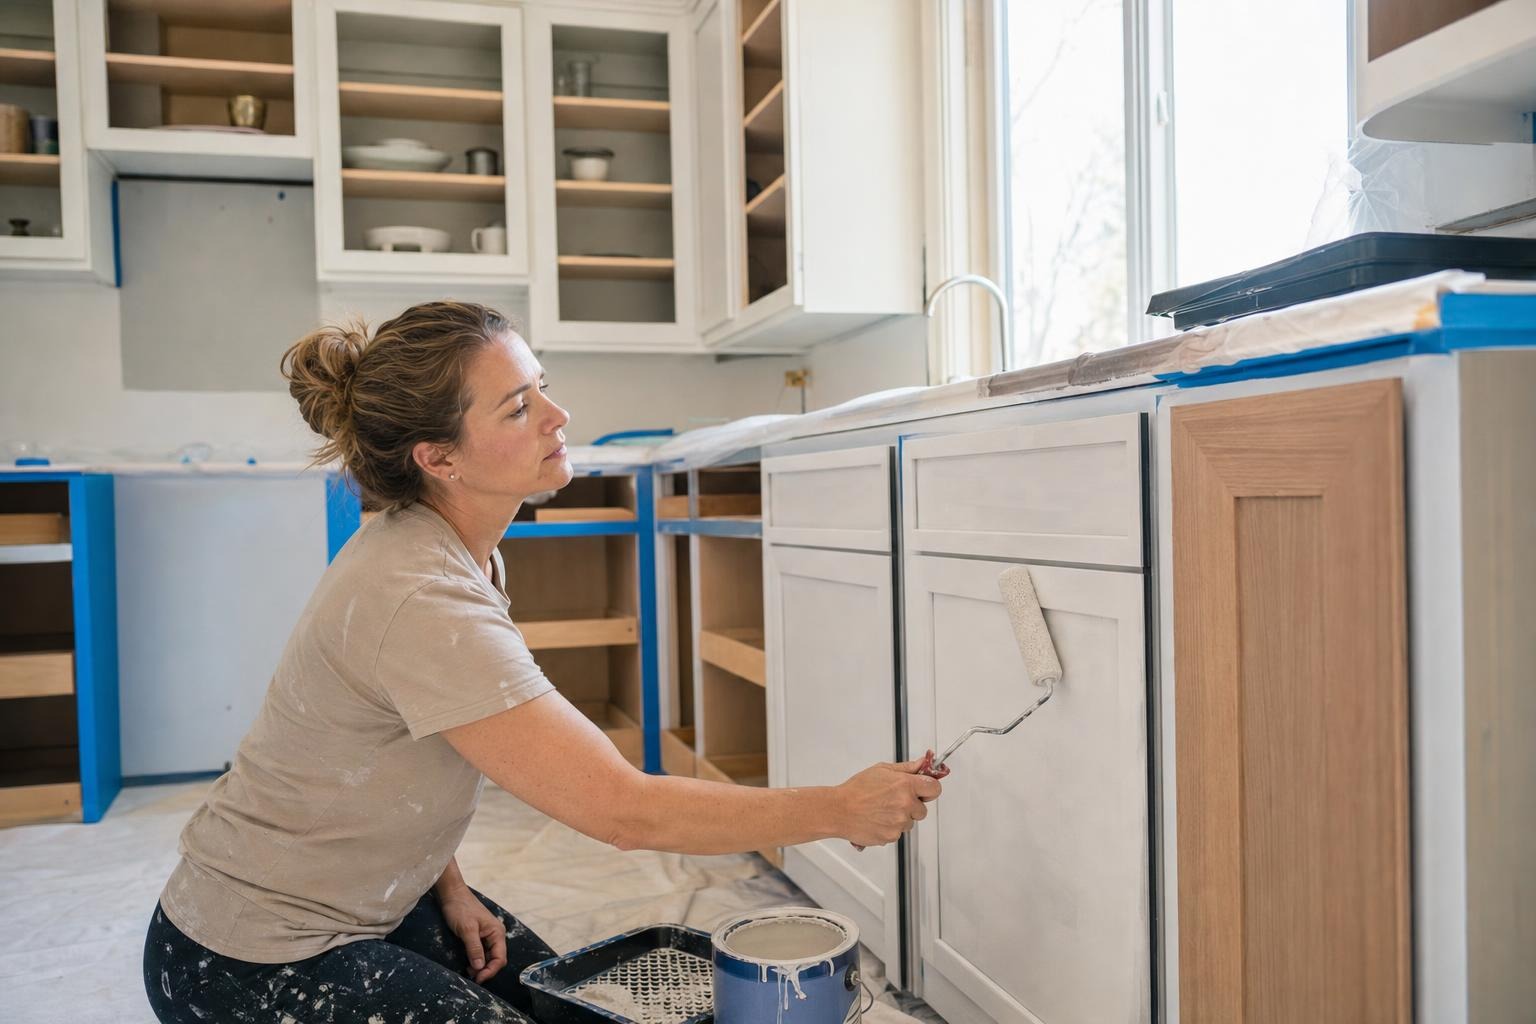
This guide helps homeowners decide whether a cabinet repaint is the right move, estimate what it will cost in their market using a simple count-and-multiply method, and prepare a clear scope to give to a painter or contractor.
It focuses on practical checkpoints you can use now (box integrity, layout, door style, budget, resale priority), a transparent cost estimator broken into units (doors, drawers, linear feet) and prep/finish levels, a timeline/downtime planner, and a contractor-ready scope template.
Scope & who this guide is for — what repainting can and cannot change
A professional cabinet repaint updates color and surface finish while keeping existing cabinet boxes and layout. It will not change the cabinet footprint, internal shelving or drawer configuration, or countertop cutouts. If you need a new layout, more storage, or structural repairs, refacing or replacement may be the better path.
Repainting works best when the cabinet boxes are structurally sound (square, no sagging or rotten panels) and you’re mainly seeking a visual update, color change, or higher-durability finish.
Quick decision checklist (5 checkpoints with pass/fail outcomes)
Run this checklist in order. A single fail usually points you to refacing or replacement instead of repainting.
1) Box integrity: Open doors and inspect the cabinet boxes. Pass = boxes square, no rot, doors close properly. Fail = loose or rotted boxes → consider refacing/replacement.
2) Layout needs: Do you want to change cabinet locations, remove a section, or add appliances? Pass = no layout changes needed. Fail = layout changes required → replacement likely.
3) Door style and condition: Are doors flat or simple raised-panel? Pass = doors are repairable or simple to sand/strip (flat or shallow profile). Fail = ornate carved doors or damaged veneer that won’t sand smooth → refacing or new doors may be better.
4) Budget and ROI priority: If budget is tight and your priority is visual improvement per dollar, painting usually wins. If long-term resale or complete style change is the priority and budget allows, refacing/replacing might be preferred.
5) Substrate/material limitation: Thermofoil or laminate can be painted but require special prep. If you have an older home, confirm whether lead-based paint is present (older than 1978) before sanding—if lead is present, follow local lead-safe rules or hire certified pros.
Decision flowchart (paint vs refacing vs replace) — stepwise pass/fail with example outcomes
Use the checklist results to walk this flow:
If all checkpoints pass → Paint (lowest cost, quickest turnaround). Example outcome: 12 doors, good boxes, want two-tone update → paint with premium enamel, sprayed finish.
If box integrity passes but door style/condition fails (ornate or heavily damaged) → Refacing or replace doors. Example outcome: boxes fine but doors warped → reface with new doors or replace fronts.
If boxes fail or you need layout changes → Replace (highest cost, allows reconfiguring footprint). Example outcome: water-damaged pantry boxes + layout change → full replacement.
How to estimate costs yourself: count doors, drawers, and linear feet and apply a modular cost method
Break the job into measurable units you can count: number of doors (standard cabinet doors), number of drawer fronts, and total linear feet of cabinetry (front face). Then apply unit cost ranges for materials and labor, with separate allowances for prep level and finish quality.
Typical market unit-rate guidance (use these as planning ranges; local rates will vary): per door $100–$250; per drawer front $25–$40; per linear foot $30–$60. Prep-intensive work (grain filling, repairs, heavy sanding) adds labor — estimate an extra $2–$5 per square foot or an extra 15–40% of the base labor line for heavy prep. Premium finishes (spray, multiple topcoats, conversion varnish) add material and labor costs—plan an additional 20–50% over a standard brushed/rolled job.
Worked example
Count: 12 doors, 6 drawer fronts, 24 linear feet of cabinets.
Low-end estimate (DIY or low-cost pro): Doors 12 × $100 = $1,200; Drawers 6 × $25 = $150; Linear foot base 24 × $30 = $720 → subtotal $2,070. Add minimal prep/finish + materials ≈ $300 → total ≈ $2,370.
Typical pro mid-range: Doors 12 × $175 = $2,100; Drawers 6 × $32 = $192; Linear foot 24 × $45 = $1,080 → subtotal $3,372. Add moderate prep and premium topcoat (30%) ≈ $1,011 → total ≈ $4,383.
High-end estimate (heavy prep, premium sprayed finish): Doors 12 × $250 = $3,000; Drawers 6 × $40 = $240; Linear foot 24 × $60 = $1,440 → subtotal $4,680. Add heavy prep/repair and premium materials (40%) ≈ $1,872 → total ≈ $6,552.
These examples use public industry ranges for planning. Your actual quote will depend on local labor rates, door complexity, and whether the contractor sprays in a booth or on site.
Timeline and downtime planner: minimal, typical, and high-prep scenarios
Plan timeline by prep level and whether the contractor sprays in a controlled environment. Typical professional timelines from industry guides: pro spray jobs often finish a standard kitchen in about 3–5 business days when prep is light; refacing takes longer (1–3 weeks) and full replacement much longer.
Minimal prep (clean, scuff, prime): 3–5 days. The crew removes doors/hardware, cleans/degreases, scuffs, primes, paints 2–3 coats, reassembles. You’ll experience minor disruption but can usually use countertops and sink with care.
Typical prep (sanding, small repairs, filler, paint multiple colors): 1–2 weeks. Expect at least several days of doors off and a few days of reduced kitchen access.
High-prep (grain filling, major repairs, extended curing, spraying with traps/booths): 2–4 weeks. The most durable, furniture-grade finishes often take longer because of drying/curing times between coats and careful reassembly.
Scheduling meals and staging
Prepare a temporary meal station outside the kitchen (microwave, mini-fridge, electric hotplate) and reserve a section of the home for dishes and utensils. Move fragile cookware and food from cabinets that will be worked on. Plan to prepare some meals off-site if your repaint timeline falls into a high-prep scenario.
What to ask a painter or contractor: 12-point scope template you can give a pro
Use this checklist to generate comparable quotes. Ask contractors to respond to each item in writing or on an estimate document.
1) Work description: list doors, drawer fronts, and cabinet box faces to be painted.
2) Removal and reinstallation: confirm door/hardware removal and reattachment, including hinge adjustment.
3) Surface prep: describe cleaning, degreasing method, sanding grit, and whether grain filler will be used.
4) Primer: specify primer type (bonding primer/adhesion primer) and number of coats.
5) Paint product and sheen: name or grade (cabinet enamel, hybrid alkyd, water‑based enamel) and proposed sheen (satin/semi‑gloss) or topcoat.
6) Application method: brush/roll or spray (on-site or in a controlled booth).
7) Number of finish coats and flash/curing times between coats and before reassembly (days). Mention if catalyzed conversion coatings are proposed and the recommended cure period before heavy use is allowed. 8) Hardware and small parts: whether hardware will be cleaned, reused, or replaced, and who supplies new hardware if requested. 9) Repairs: which minor repairs or filler work are included and what will be billed as extras (hinge repair, warped doors). 10) Clean-up and waste removal: confirm daily cleanup, dust control, and disposal of paint waste. 11) Warranty/guarantee on workmanship and finish duration/conditions. 12) Timeline and payment schedule: start date, milestone dates, and final payment terms.
Resale and color context (2026 signals): picking durable, resale-friendly palettes
Industry trend reports for 2026 noted continued interest in two-tone schemes and richer, deeper cabinet colors while off‑white and natural wood remain widely used. If resale is a priority, neutral, timeless palettes (muted off‑white, greige, and medium navy) generally have broader appeal, while accent islands or lower cabinets in deeper tones are a way to follow trends without committing the whole kitchen.
Durability trumps trend for resale: choose paints and topcoats formulated for cabinetry (resistant to grease, abrasion, and frequent cleaning) and a finish sheen that’s easy to clean. When in doubt, ask the contractor to specify the product and provide a sample panel.
When you need local estimates or permits (and what local facts change most)
Most cabinet painting jobs do not require building permits, but local rules can vary, especially in multifamily buildings or historic districts. The local factors that change cost most are labor rates, disposal fees, and lead-safe work requirements for older homes. If your home was built before 1978, have a lead paint test done before sanding and follow local lead-abatement rules.
Get at least two to three written, itemized local estimates that use your 12‑point scope so you’re comparing apples to apples. Ask each pro for a timeline, product names, and a written warranty on workmanship/finish.
Next steps and decision worksheet
Turn the Quick Decision Checklist and unit-count estimator into a one-page worksheet to take with you when getting quotes. Steps to act on now: 1) Count your doors/drawers/linear feet, 2) Run the worked-example math above with your counts to create a planning budget range, 3) Decide which prep/finish level you want (minimal/typical/premium), and 4) Give the 12‑point scope to at least two contractors for written quotes.
If you need a fillable PDF checklist, create one from the checklist items above so you can check pass/fail on-site and capture contractor answers in writing for easy comparison.
Helpful related resources
Compare options to confirm paint is the right path for your needs using a short decision comparison: Compare painting, refacing, or replacing cabinets.
If you plan a premium or furniture-grade finish, review technique and recovery guidance in a finishing and troubleshooting resource to understand what delivers long life and how to avoid common failures: Detailed finishing and troubleshooting tips.