How to inspect cabinet boxes for refacing
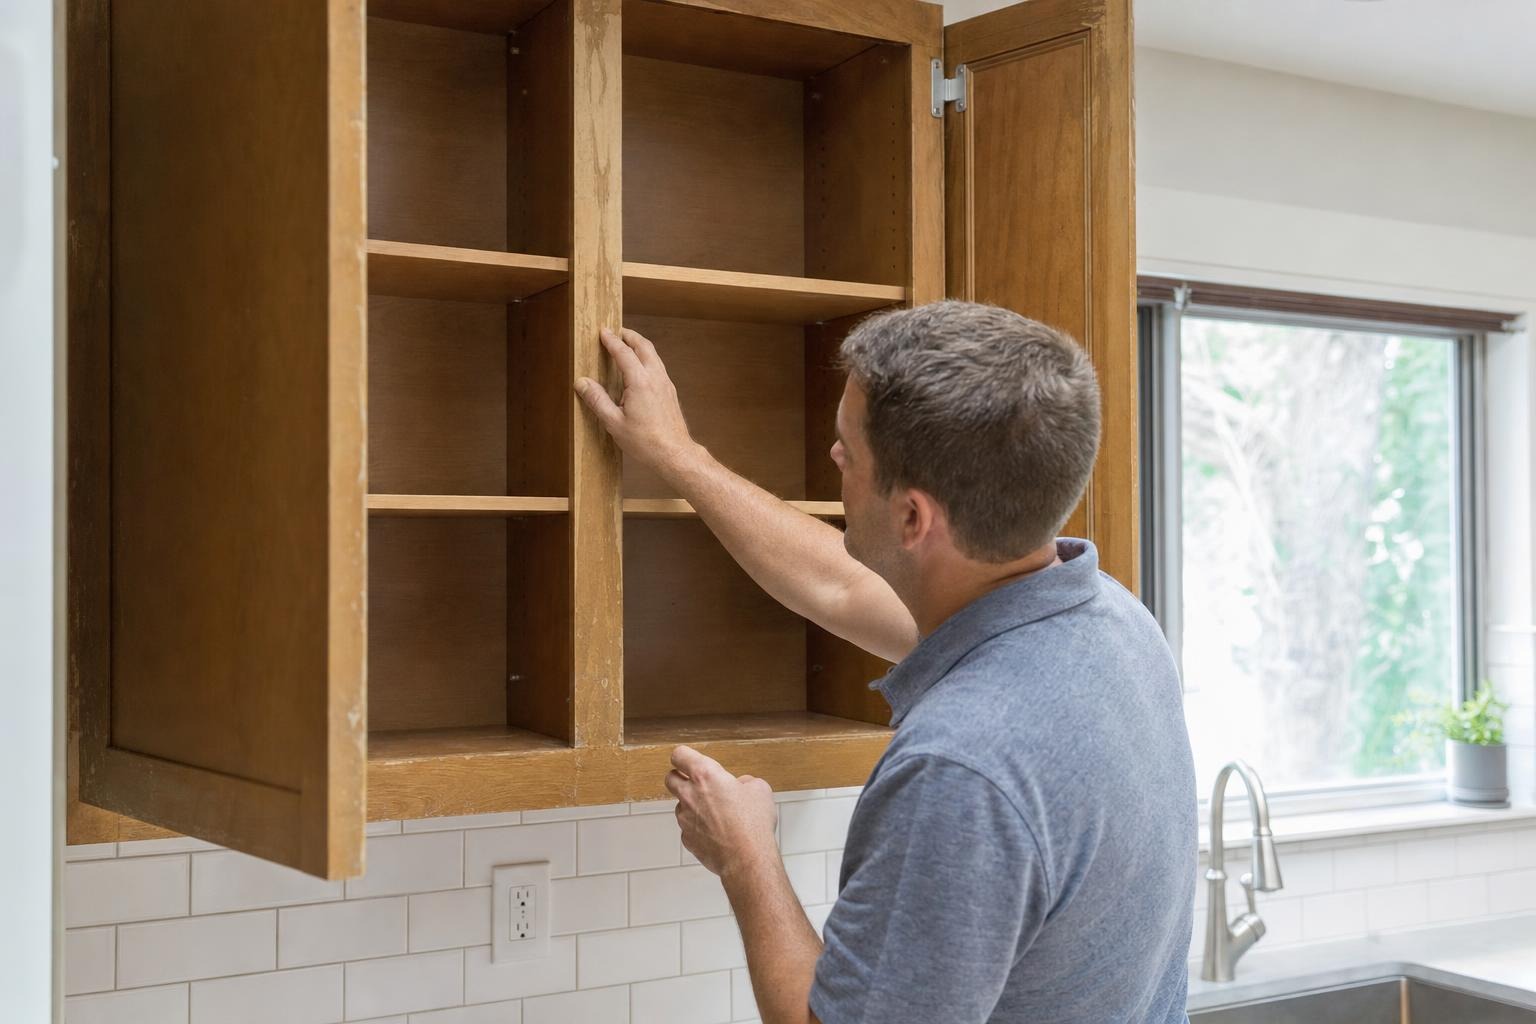
If you need to inspect cabinet boxes before asking contractors for refacing bids, this guide gives a 20–30 minute, photography-driven protocol you can follow without special training. It shows exactly what to measure, where to shoot photos, how to name files so bids match your evidence, and a repair-triage flow that turns observations into one of three recommended actions: reface, repair then reface, or replace.
Use this as a pre-bid attachment so each contractor prices the same visible condition. The protocol emphasizes repeatable measurements (to compute linear feet and door sizes), a compact photo set with mandated angles, and a checklist you can paste into an email or upload with online estimate forms.
Why box condition matters for refacing (what fails later)
Refacing preserves the existing cabinet boxes and replaces visible surfaces (doors, drawer fronts, veneers). If a box is later found to be warped, water‑damaged, or loose, the new faces may peel, gap, or look uneven. That can turn a low‑disruption refacing project into an expensive repair or full replacement. Inspecting and documenting box condition up front reduces surprises and makes contractor bids comparable.
Tools needed: tape, level, camera, flashlight, notepad
Minimum kit: 25-foot tape measure, 6-inch steel ruler (for scale in photos), 2-foot level, bright flashlight, a phone or camera, and a notepad/phone notes app. Optional but helpful: a small mirror (for underside/back access) and gloves.
Set your phone camera to the highest practical resolution and enable gridlines if available. Keep a portable 6-inch ruler visible in key photos so bidders can verify scale.
How to inspect cabinet boxes: step-by-step sequence and photos to take
Work systematically run-by-run (a run is a continuous horizontal run of cabinets). Spend 2–4 minutes per run. For each run, take the photo set and measurements below.
Required photo set per run (minimum): 1) Exterior overview of the run (shows all doors) 2) Close-up of hinge area and hardware on each door 3) Underside of the base cabinets near the toe and bottom rail 4) Back panel view inside the cabinet (remove shelf if needed) 5) Inside shelf joints and pin/dowel areas 6) Close-up of any damage: swelling, delamination, loose screws, gaps 7) One scale image: place the 6-inch ruler against a problem area and photograph
Always include one overview shot that shows the run in context (appliances, corners) so contractors can see layout. Take extra photos where doors bind, gaps appear, or veneer peels.
Photo-angle shorthand and mandatory closeups
Use these standardized angles for clarity: EX = exterior overview (straight-on, full run); CL = close left door (hinge side); CR = close right door (lock side); UND = underside (toe or bottom rail); BACK = interior back panel; INS = inside shelf joint; DEF = defect closeup (delamination/swelling). Each required shot should be taken at ~12–18 inches from the surface whenever possible to capture detail. Include one scale photo (6-inch ruler) for each DEF image.
Exact measurements to record: linear feet, door and drawer face sizes, depth, and reveal gaps
Record these measurements for each run and for each door or drawer front:
- Run width (in inches): measure the visible front width of a continuous run. Convert to linear feet by dividing the total inches by 12 and rounding to two decimals. Contractors commonly price refacing per linear foot of run.
- Individual door/drawer front height and width (in inches): measure height from top edge to bottom edge and width across the face. Note if a front is a false drawer or a split drawer.
- Interior depth: measure inside from the face frame to the back panel (this helps contractors price shelf or back repairs).
- Reveal gaps: measure gap at top and side between door edge and face frame at widest point. As a practical flag, note any reveal gap that visibly exceeds 1/4 in (about 6 mm) and where it occurs (top, side, hinge side).
- Shelf and carcass plumb/square: use a 24
How to name photo files for contractor bids (clear, consistent conventions)
Use a filename convention so photos can be matched to items in your inspection report. Suggested pattern: ROOM_RUN##_CAB##_ANGLE[_DEF].jpg
Examples: KITCHEN_R01_C03_EX.jpg (kitchen, run 1, cabinet 3, exterior overview) KITCHEN_R01_C03_HING.jpg (hinge area closeup) KITCHEN_R01_C03_BACK_DEF.jpg (back panel defect closeup, include ruler)
Include a short index in your inspection report that maps each filename to a human description (example: KITCHEN_R01_C03_BACK_DEF.jpg — back panel delamination, lower left corner). Always keep the original camera file (no cropping or edits) as a time-stamped record.
Signs that predict veneer/bonding failure and when to expect repair
Common visual signs that predict future veneer or bonding failure: bubbling or lifting at seams, long runs of edge delamination, multiple doors showing identical peel patterns, and visible gaps at glued joints inside the carcass. These signs don't guarantee failure but increase risk of post‑refacing peeling.
If you observe single-door veneer lift with otherwise solid carcass framing, that often rates as cosmetic and may be addressed at the door level. Widespread delamination across multiple adjacent doors or separation at carcass joints suggests adhesive and substrate problems that typically call for repair or replacement rather than a simple reface.
Repair triage flowchart: reface, repair then reface, or replace
Use this three-way decision guide when evaluating your photos and notes:
1) Recommend Reface when: boxes are dry, square, joints are tight, backs and shelves are intact, hinges and slides work, and defects are limited to surface wear or single-door veneer lift. Evidence: overview photos show plumb runs, closeups show no separation at corner joints, and reveals are uniform.
2) Recommend Repair then Reface when: damage is localized and fixable without replacing entire runs — for example, a single back panel that can be replaced, a few loose corner joints that can be glued and reinforced, or small areas of water swelling at toe kicks that can be cut out and patched. Evidence: DEF photos and measurements showing limited affected area; contractor can price repairs separately, then proceed with refacing.
3) Recommend Replace when: structural failures appear, such as multiple separated corner joints, collapsed boxes, large areas of rot/mold, repeated swelling across adjacent boxes, or when the owner intends to change layout or appliance openings. Evidence: multiple DEF images across contiguous cabinets, back‑to‑back joint separation, or measurements showing persistent out‑of‑square greater than tolerances specified by your contractor.
Document your decision with a one-line rationale (e.g., “Repair then Reface — R1 C02–C04 back panel moisture damage, see BACK_DEF photos”). This keeps bids comparable and gives contractors a clearly stated scope.
Sample inspection report you can attach to bids
Copy this template into an email or PDF and attach your images using the filename convention. Fill every field before sending.
Inspection report — [Property address or Unit ID] Date: [YYYY-MM-DD] Inspector: [Your name] Time spent: [minutes] Room: [e.g., Kitchen] Total linear feet (measured): [xx.xx ft] Door count: [n] Drawer front count: [n] Summary condition: [Good / Repair then Reface / Replace — choose one] Key findings (bullet): - Run R01: overview—plumb, no structural gaps (files: KITCHEN_R01_EX.jpg) - Run R02: R02_C01–C03 back panel swelling lower left (files: KITCHEN_R02_C01_BACK_DEF.jpg; scale photo included) - Doors needing individual attention: C04 veneer lift at hinge side (file: KITCHEN_R02_C04_HING_DEF.jpg) Measurements (per run): - R01 width: [inches] - R02 width: [inches] Reveal gap samples: - R01_C02 top gap: [inches/mm] Recommended action: [Reface OR Repair then Reface OR Replace] Rationale: [short sentence pointing to specific photos and measurements] Attachments: list of filenames and short descriptions. Inspector signature: [name/email]
Red flags to include in bids and contract clauses to protect homeowners
When you send this report with bids, add these clauses or request them in writing: - Concealed-damage allowance: require the contractor to identify a fixed contingency or to present a separate written repair estimate before proceeding with any work beyond visible items. - Pre-installation sign-off: require a site walkthrough and written sign-off that visible repairs have been completed and that you approve proceeding. - Warranty on repairs: demand a warranty period (written) that covers repaired box structure and refacing adhesion. - Pricing transparency: request separate line items for repairs, new doors/drawer fronts, veneers, and replacement boxes so you can compare bids fairly. - Replacement trigger: if the contractor encounters structural conditions beyond what the inspection showed, require that they stop work, document the condition with photos, and provide a replacement estimate rather than proceeding without approval.
How to use this packet during contractor visits and next steps
Email the inspection report and all image files before scheduling in‑home visits so bidders price from the same evidence. At the contractor visit, follow up with the same photo set—ask the contractor to shoot the same filename convention so you can compare their findings to yours. If bids differ materially, ask for a line-by-line explanation tied to the photos. Keep all signed reports as part of the contract documentation.